Tuesday Tutorial – Paper Snowflakes
 Here’s another sneak peek into our Rockin’ New Year’s Eve Party! They featured these fun paper snowflakes and I’ll show you today how to make them.
You’ve probably seen them everywhere and wondered how to make them; they were the craft at last year’s Ugly Sweater Party, and I couldn’t wait to make them again. I apologize for the grainy photos, I was making these at night and it was either flash or clear photos.
Supplies to make one snowflake:
8 sheets of paper NOT cardstock
scissors
tape
stapler
hole punch 1. Take one sheet of paper, fold the bottom edge to the left edge and crease.
 2. Cut off the top strip to make a square.
 3. Fold top corner down.
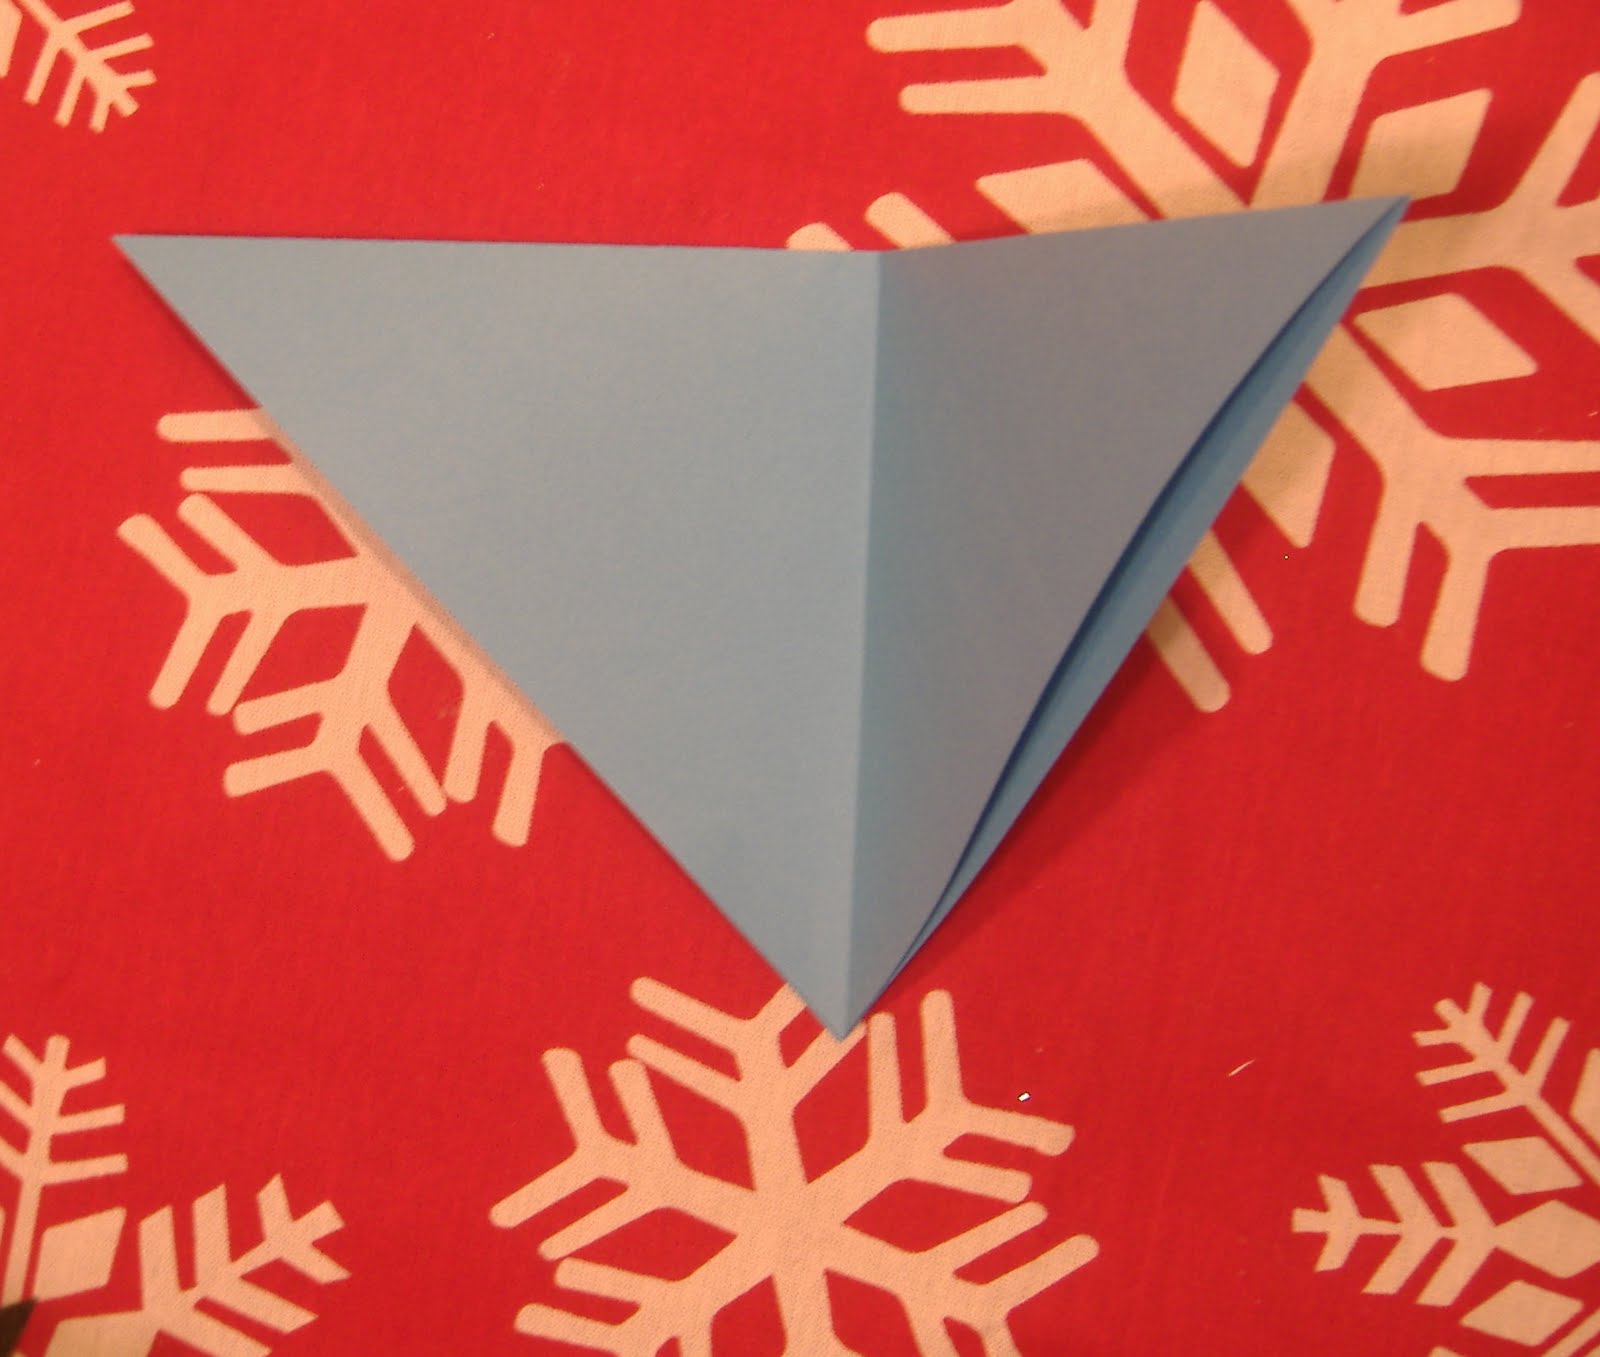
 4. Rotate almost half way.
 5. Cut through both layers on the folded ends, almost to the end.
 6. Open completely, folded crease-side down.
 7. Fold the smallest flaps in, overlapping each other and tape, then turn over.
 8. Fold the medium flaps in, overlapping each other and tape, then turn over again.
 9. Fold the largest flaps in, overlapping each other and tape.
This is how it should look from the side. Now repeat this 7 more times.
 10. Staple or tape 8 pieces together.
11. Staple in a ring by stapling the center points together. 12. Punch a hole in the top point and string through with fishing line. Voila! Feel free to mix and match colors to match your decor, use sparkly or patterned paper. I’ve been working on a smaller version to make it an ornament size, my scaling is all wrong, so if anyone makes one, let me know!


These look great – thanks for sharing!
I've been wanting to try this but all the explanations were a bit confusing to me. This is perfect! Thanks so much, I'll be linking.
Oh no way! Those are so neat and look like you bought them! Thanks for sharing : )
Paula
those turned out great! 🙂 happy new year!
Thanks for such a clear step-by-step how-to! As you mentioned about mixing and matching different colors, these pretty pieces would be great even in different seasons.
I love these paper snowflakes! We made a few for our office last year!
I just wanted to let you know that I've added your blog to the blogroll on The Finer Things (the official blog of FineStationery.com)! We're so excited to have you!
Sincerely, Jennifer
These are great! Thanks for sharing!
Hi Dawn,
I just discovered your blog today. I LOVE it, and I LOVE this tutorial. Keep up the great work.
Love,
Erin
thanks so much for tutorial my son is having a snowman birthday party Saturday, and I was looking for something to use for decor, I think that these will be perfect. btw, I figured out that if you use the strip that you cut off of the big snow flake and then cut that into three squares (you will have a small rectangle on the end left over) then those squares end up being just about the right size to make an ornament.
These are so fun! I made a few this morning using quarter-sheets of paper, so that I can make one using only two sheets of paper. I'm gathering that would be a quarter the size of the ones you made. As long as the initial pieces are true squares, it's been working just fine for me!
Oh wow! These are awesome! I'm not sure I could pull this off 🙁
This comment has been removed by the author.
Thanks MaryP and Allison about the paper sizes! Duh! Of course any size square would work! I bet origami paper would be so pretty! They come in 6 X 6 squares…
Hi Dawn,
I love the snowflakes and made them with my cheerleaders as an art and crafts project. I would love to share this tutorial on my blog. Your blog keeps me coming back for more!!!
http://www.3psofme.blogspot.com
I made mini versions of these as ornaments/name tags for my work holiday party. I made my squares 3"x3", that seemed to work out perfectly.
Yes, I made them smaller for a future party…and I bet yours turned out awesome. I think they have a bigger impact smaller… http://dawnypoo.blogspot.com/2011/06/fiesta-fridayreal-party-cocktails.html
Last year our elementary school was strung with hundreds of these stars….so impressive.
My little one's class each made one and hang them from their classroom ceiling over their desk; he just brought his home yesterday.