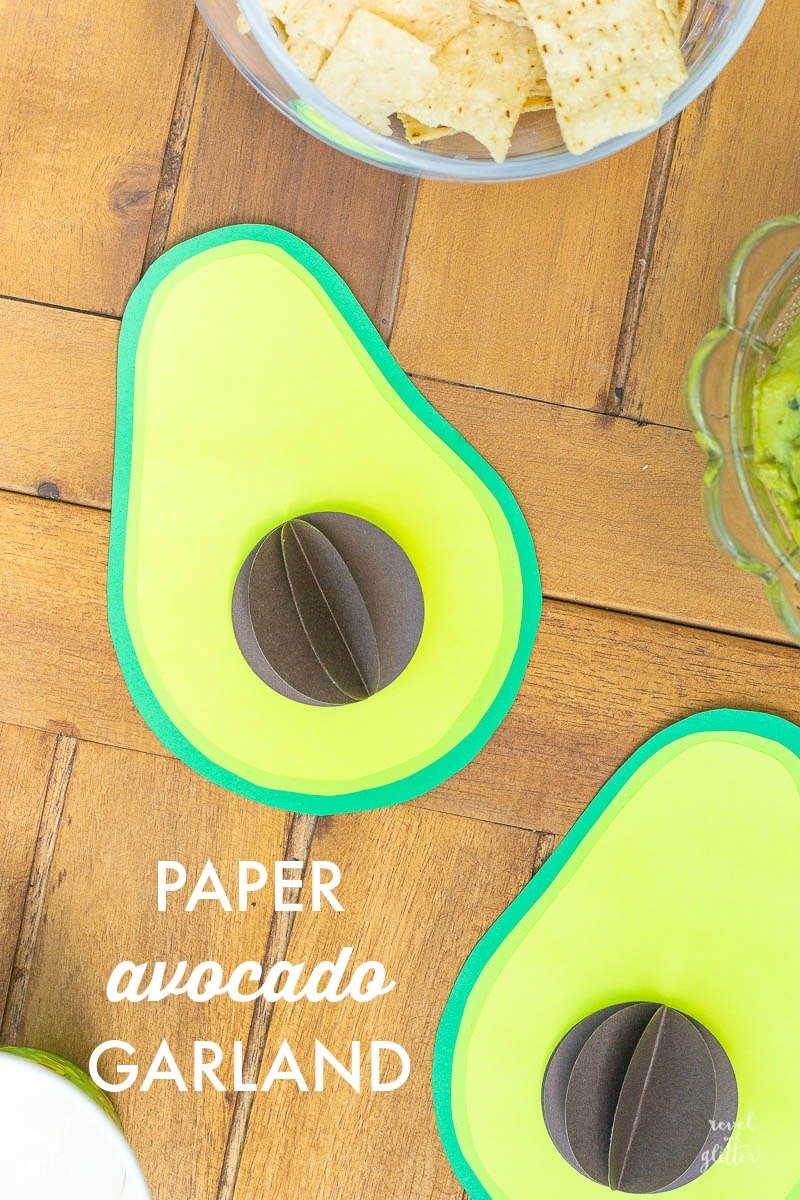
Paper Avocado Garland
While on my weekly Target run, I came across the cutest avocado paper cups. Seriously, every time I am there, so many things jump in my basket.
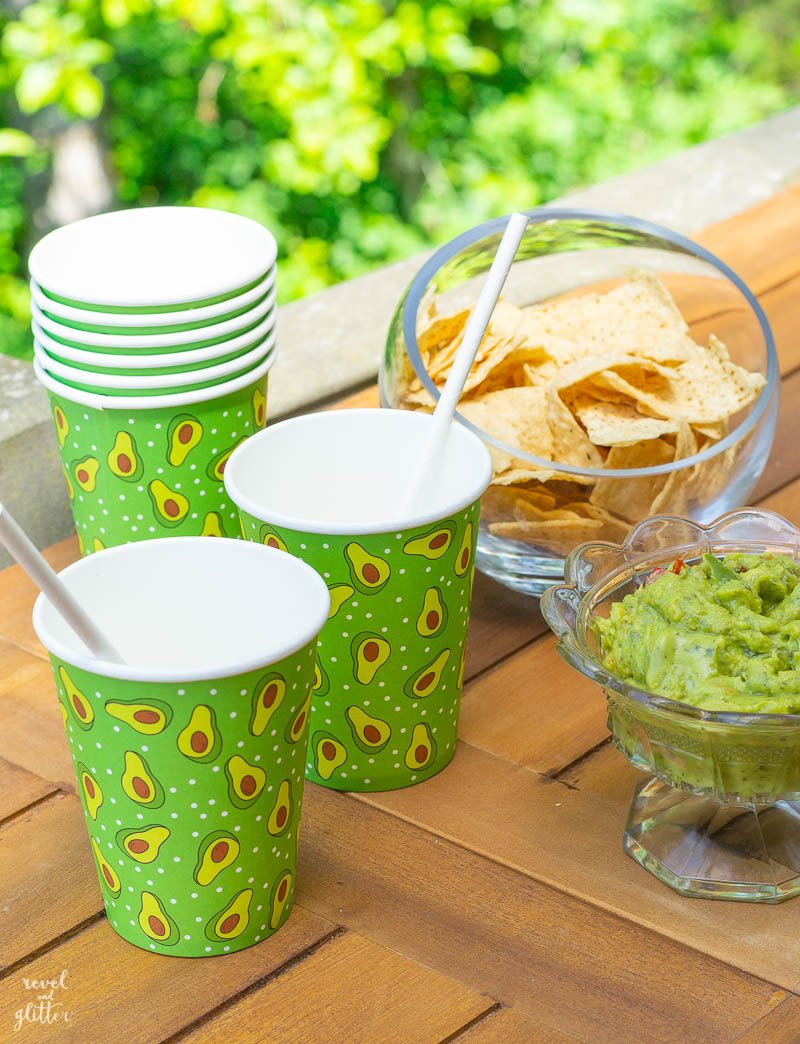
They inspired crafty fun…an easy-to-make paper avocado garland! I promise, it is so easy, I’ve even created a free template to help you make the avocado.
I am a paper junkie; I’ve always been a fan of Astrobrights paper and pretty much any paper from Paper Source. Any project that involves either is always a good crafting day in my book!
The 3-D effect for the avocado pit is a little paper crafting trick I learned about years ago when I made paper apples for a Back to School treat bag idea. I figured, classic crafts never go out of style.
What You’ll Need:
Astrobrights colored paper in Gamma Green, Terra Green and Liftoff Lemon
Paper Source 80# text weight paper in Chocolate
2″ circle paper punch
glue stick or dry adhesive
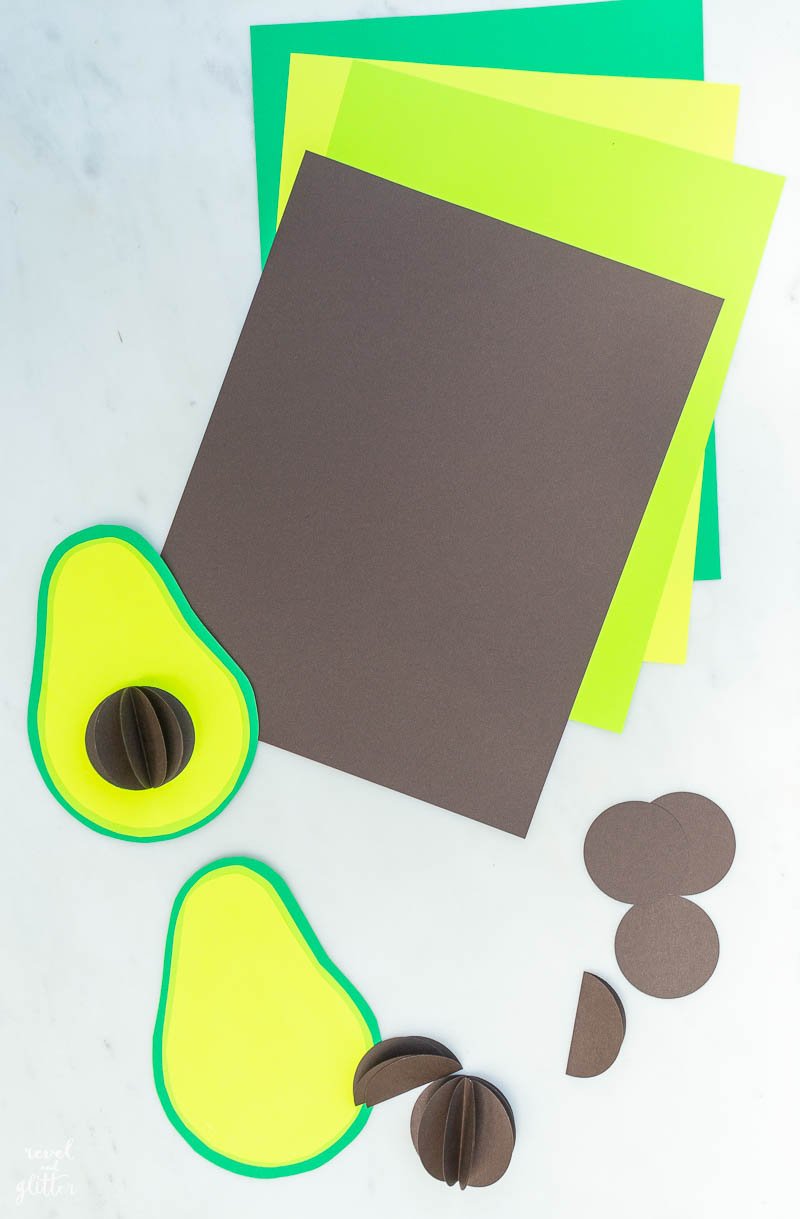

- Download my free printable here or clicking on the image above. You will need to print the download onto a sheet each of Gamma Green, Terra Green and Liftoff Lemon. Be sure your print setting is at “Actual Size”.
- Trim the outer ‘avocado level’ in Gamma Green, the middle ‘avocado level’ in Terra Green and the inner avocado section in Liftoff Lemon.
- Each set of 3 will create two avocados so print out as many sets as you need.
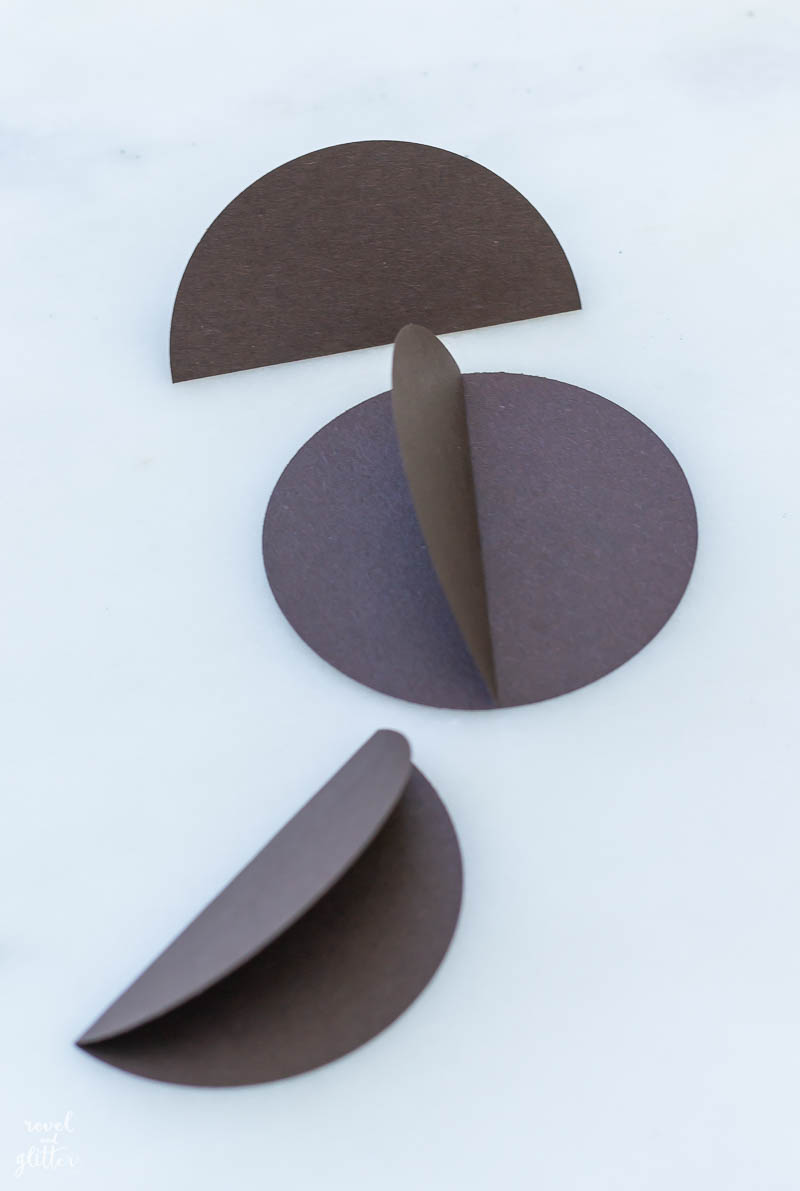
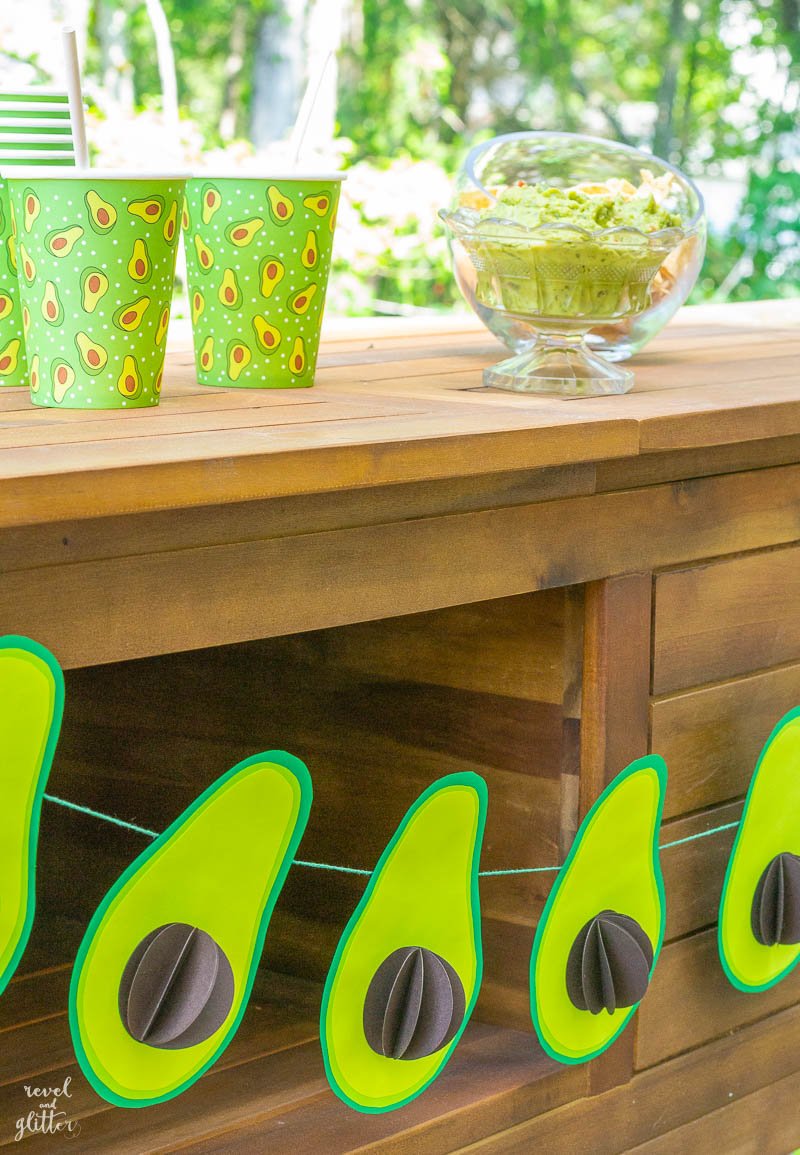
To create the avocado ‘pit’:
- With the paper punch, punch out 7 circles out of the Chocolate paper. One is the base of the pit and the other 6 will create the shape.
- Fold six of the paper circles in half; apply adhesive to one circle’s folded side and adhere to the 7th circle.
- Continue to adhere all of the folded circles together, backside to each; be sure and line them up evenly.
- Repeat process for the number of avocados you have created.
Assemble avocados:
- Flip over the Gamma Green layer so the printed side is down.
- Apply adhesive to the printed side of the Terra Green layer and adhere to the Gamma Green layer.
- Apply adhesive to the printed side of the Liftoff Lemon and adhere to the Terra Green/Gamma Green layer.
- The avocado pit placement circle can be seen through the Liftoff Lemon layer. Apply adhesive to the inside of the circle, then adhere the assembled avocado pit to the avocado, using the circle as a guide. Note, the circle is smaller than the avocado pit.
- Set aside assembled avocado to dry before hanging.
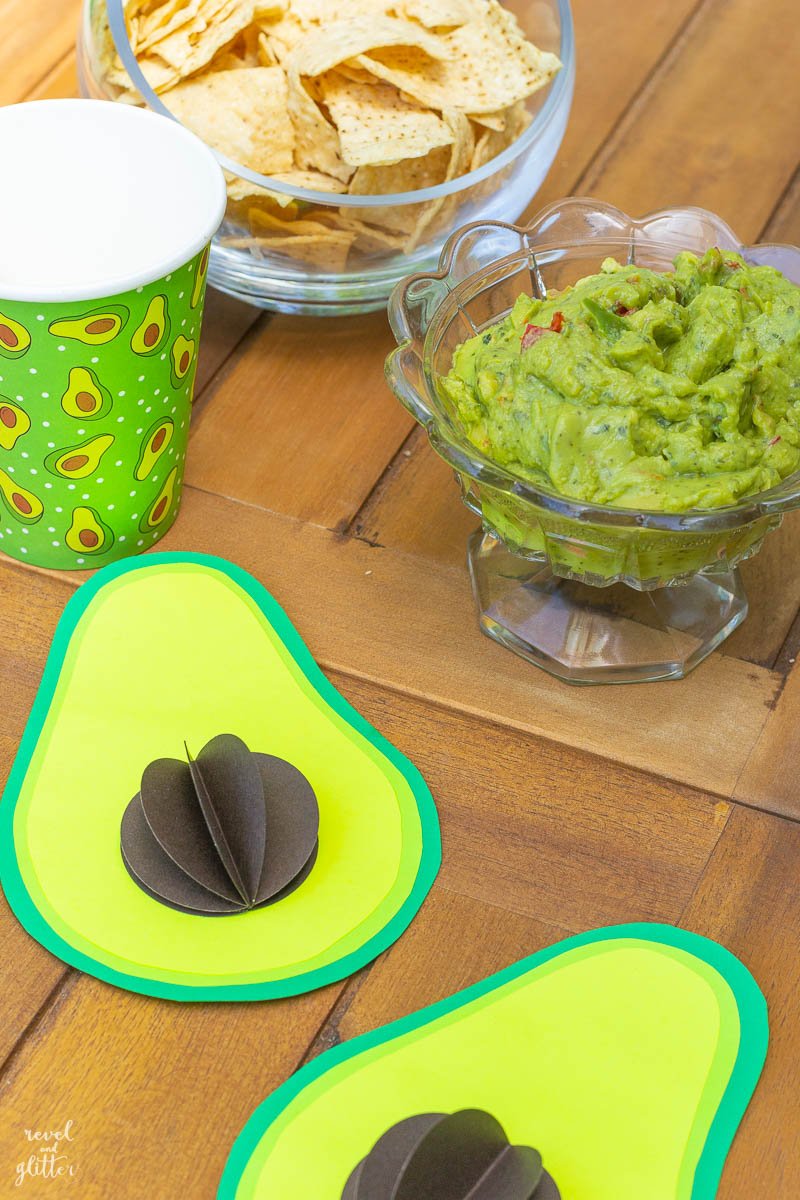
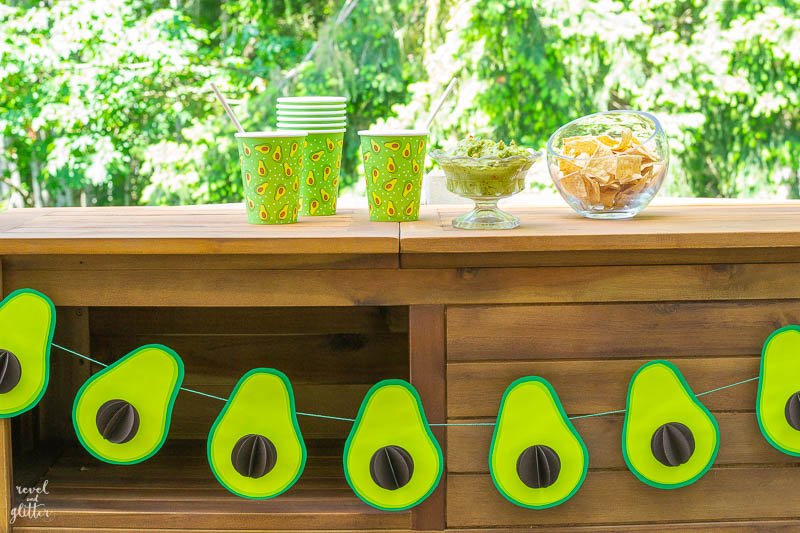
Whether it’s a summer fiesta or Cinco de Mayo, or that avocado bar that is perfect for anytime partying, my paper avocado garland is a great way to dress things up!


